$59.95
- Connect any N64 controller to NUON system
- Firewire plug fits in the NUON controller port
- 5′ cable
Released March 15, 2023. First run limited to 125 units. Second run of 125 units released April 15, 2023. Third run of 50 units released May 7, 2024.
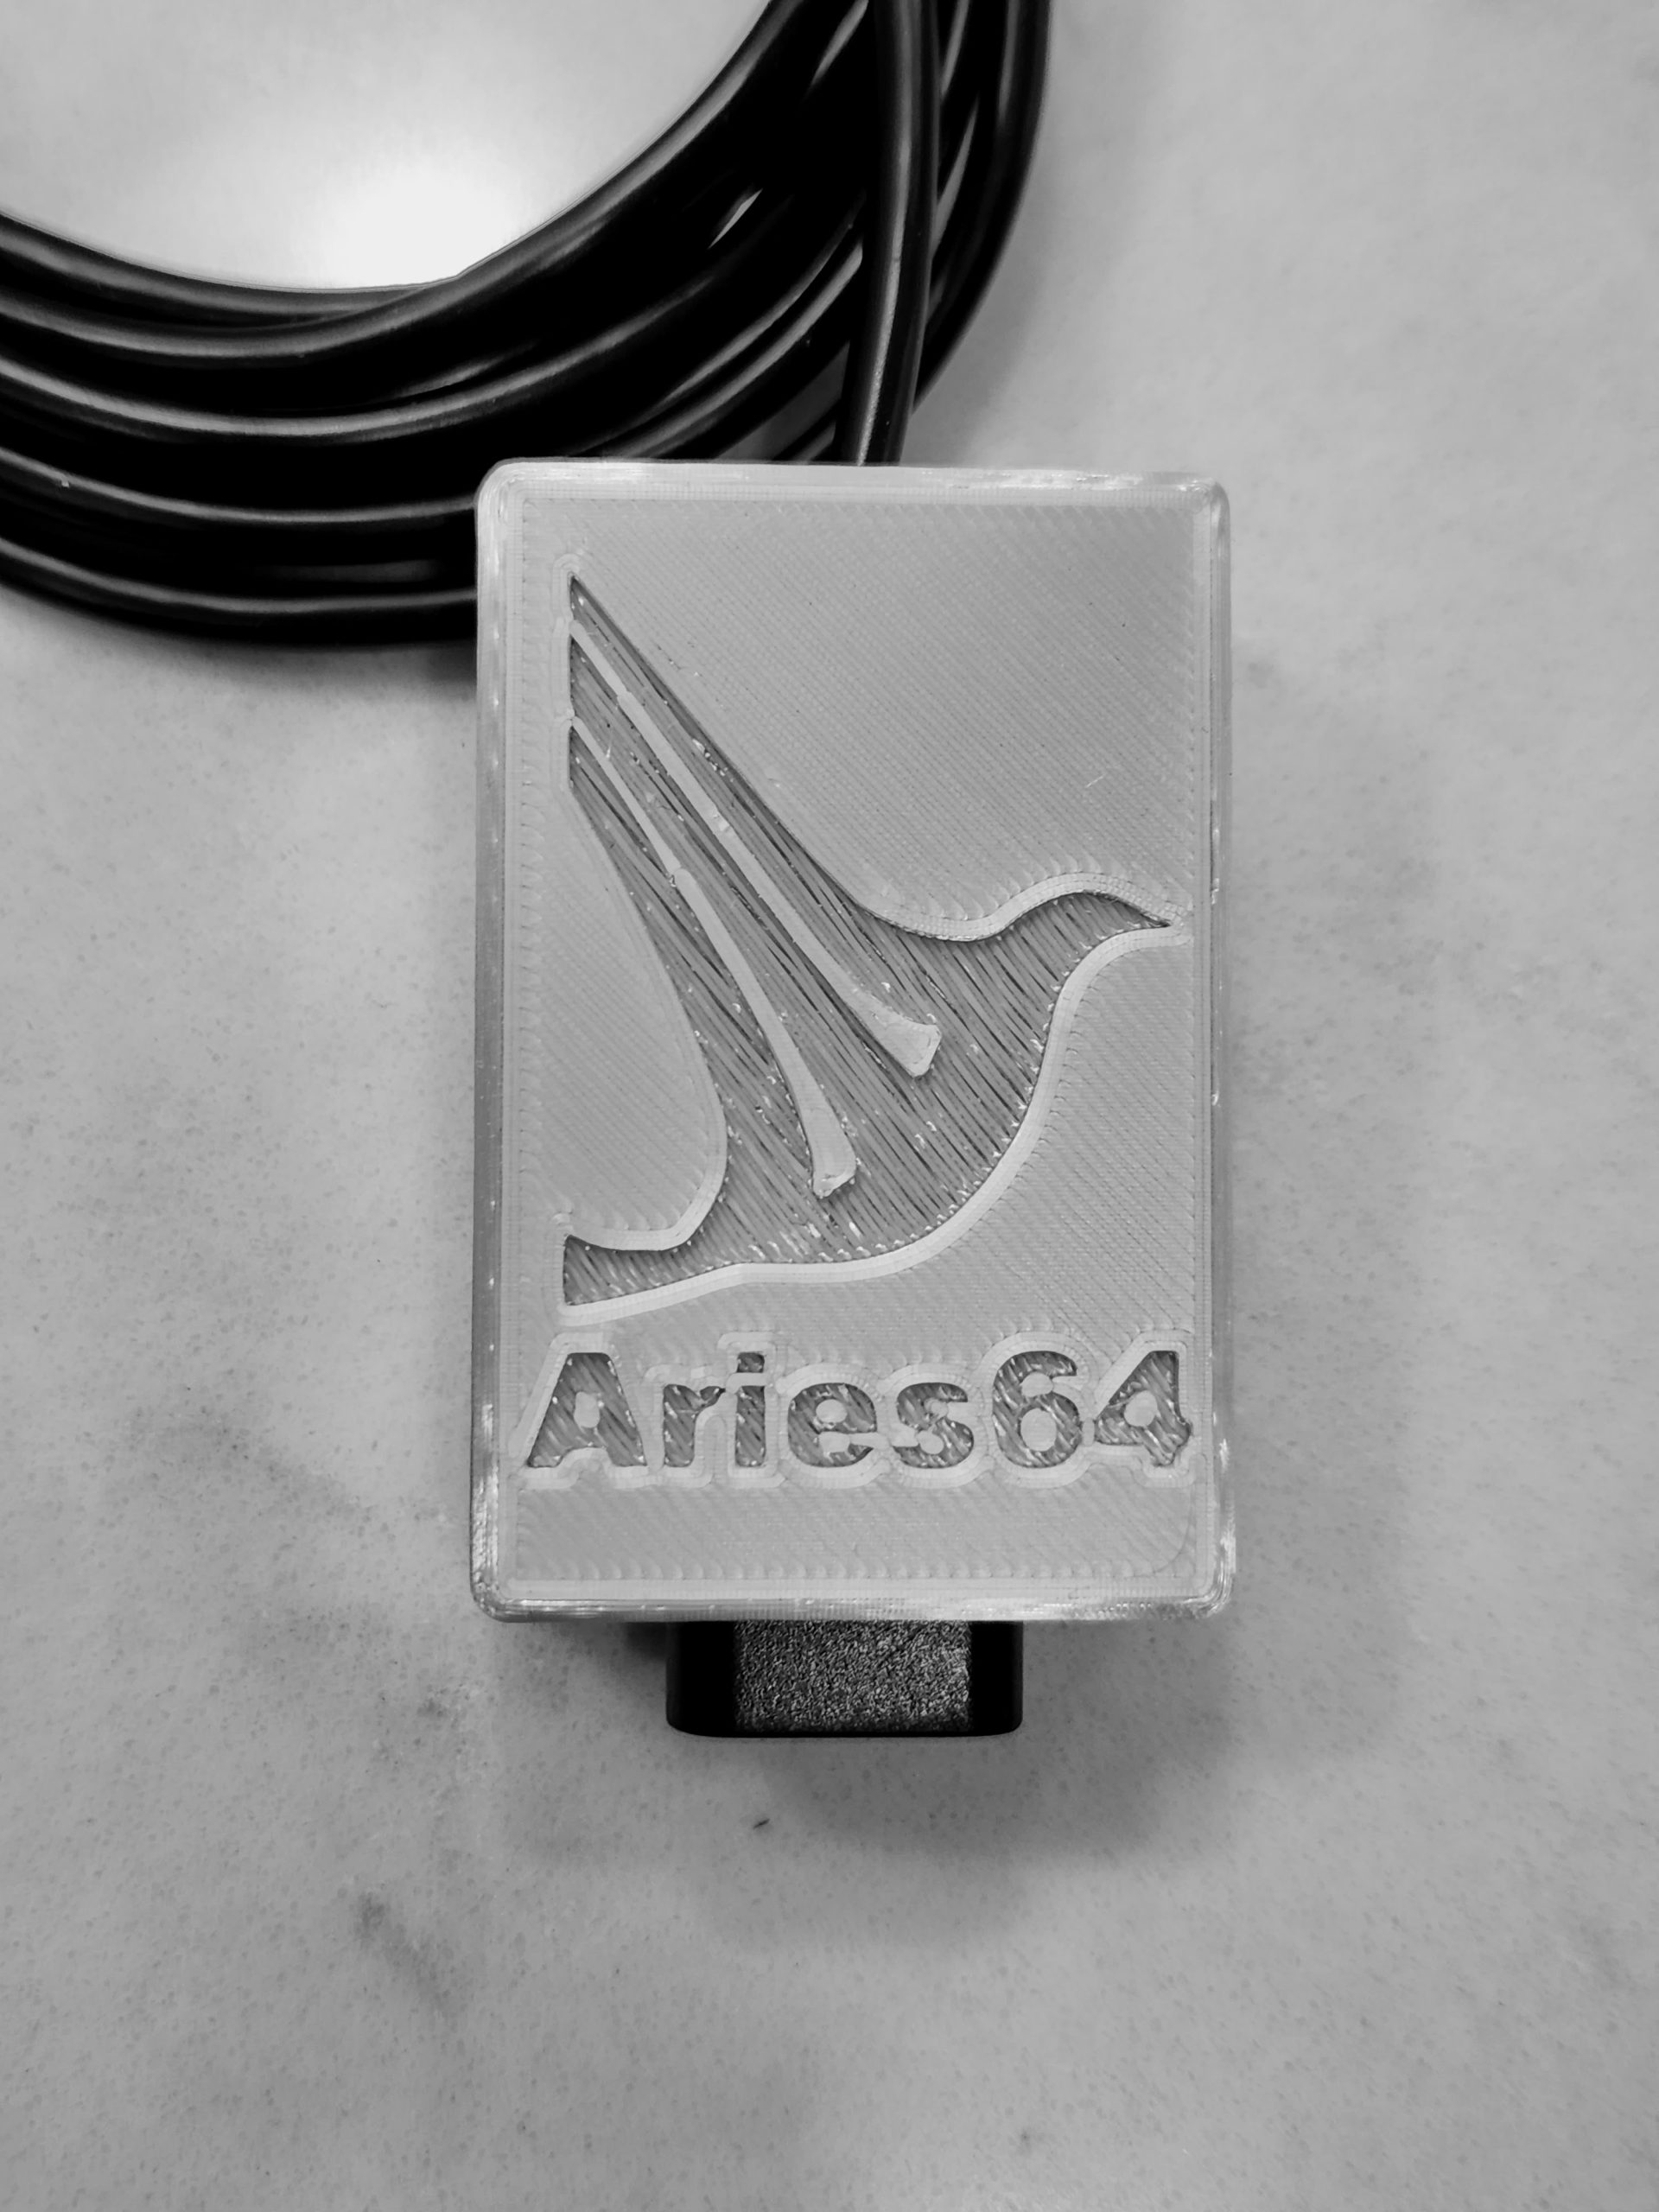
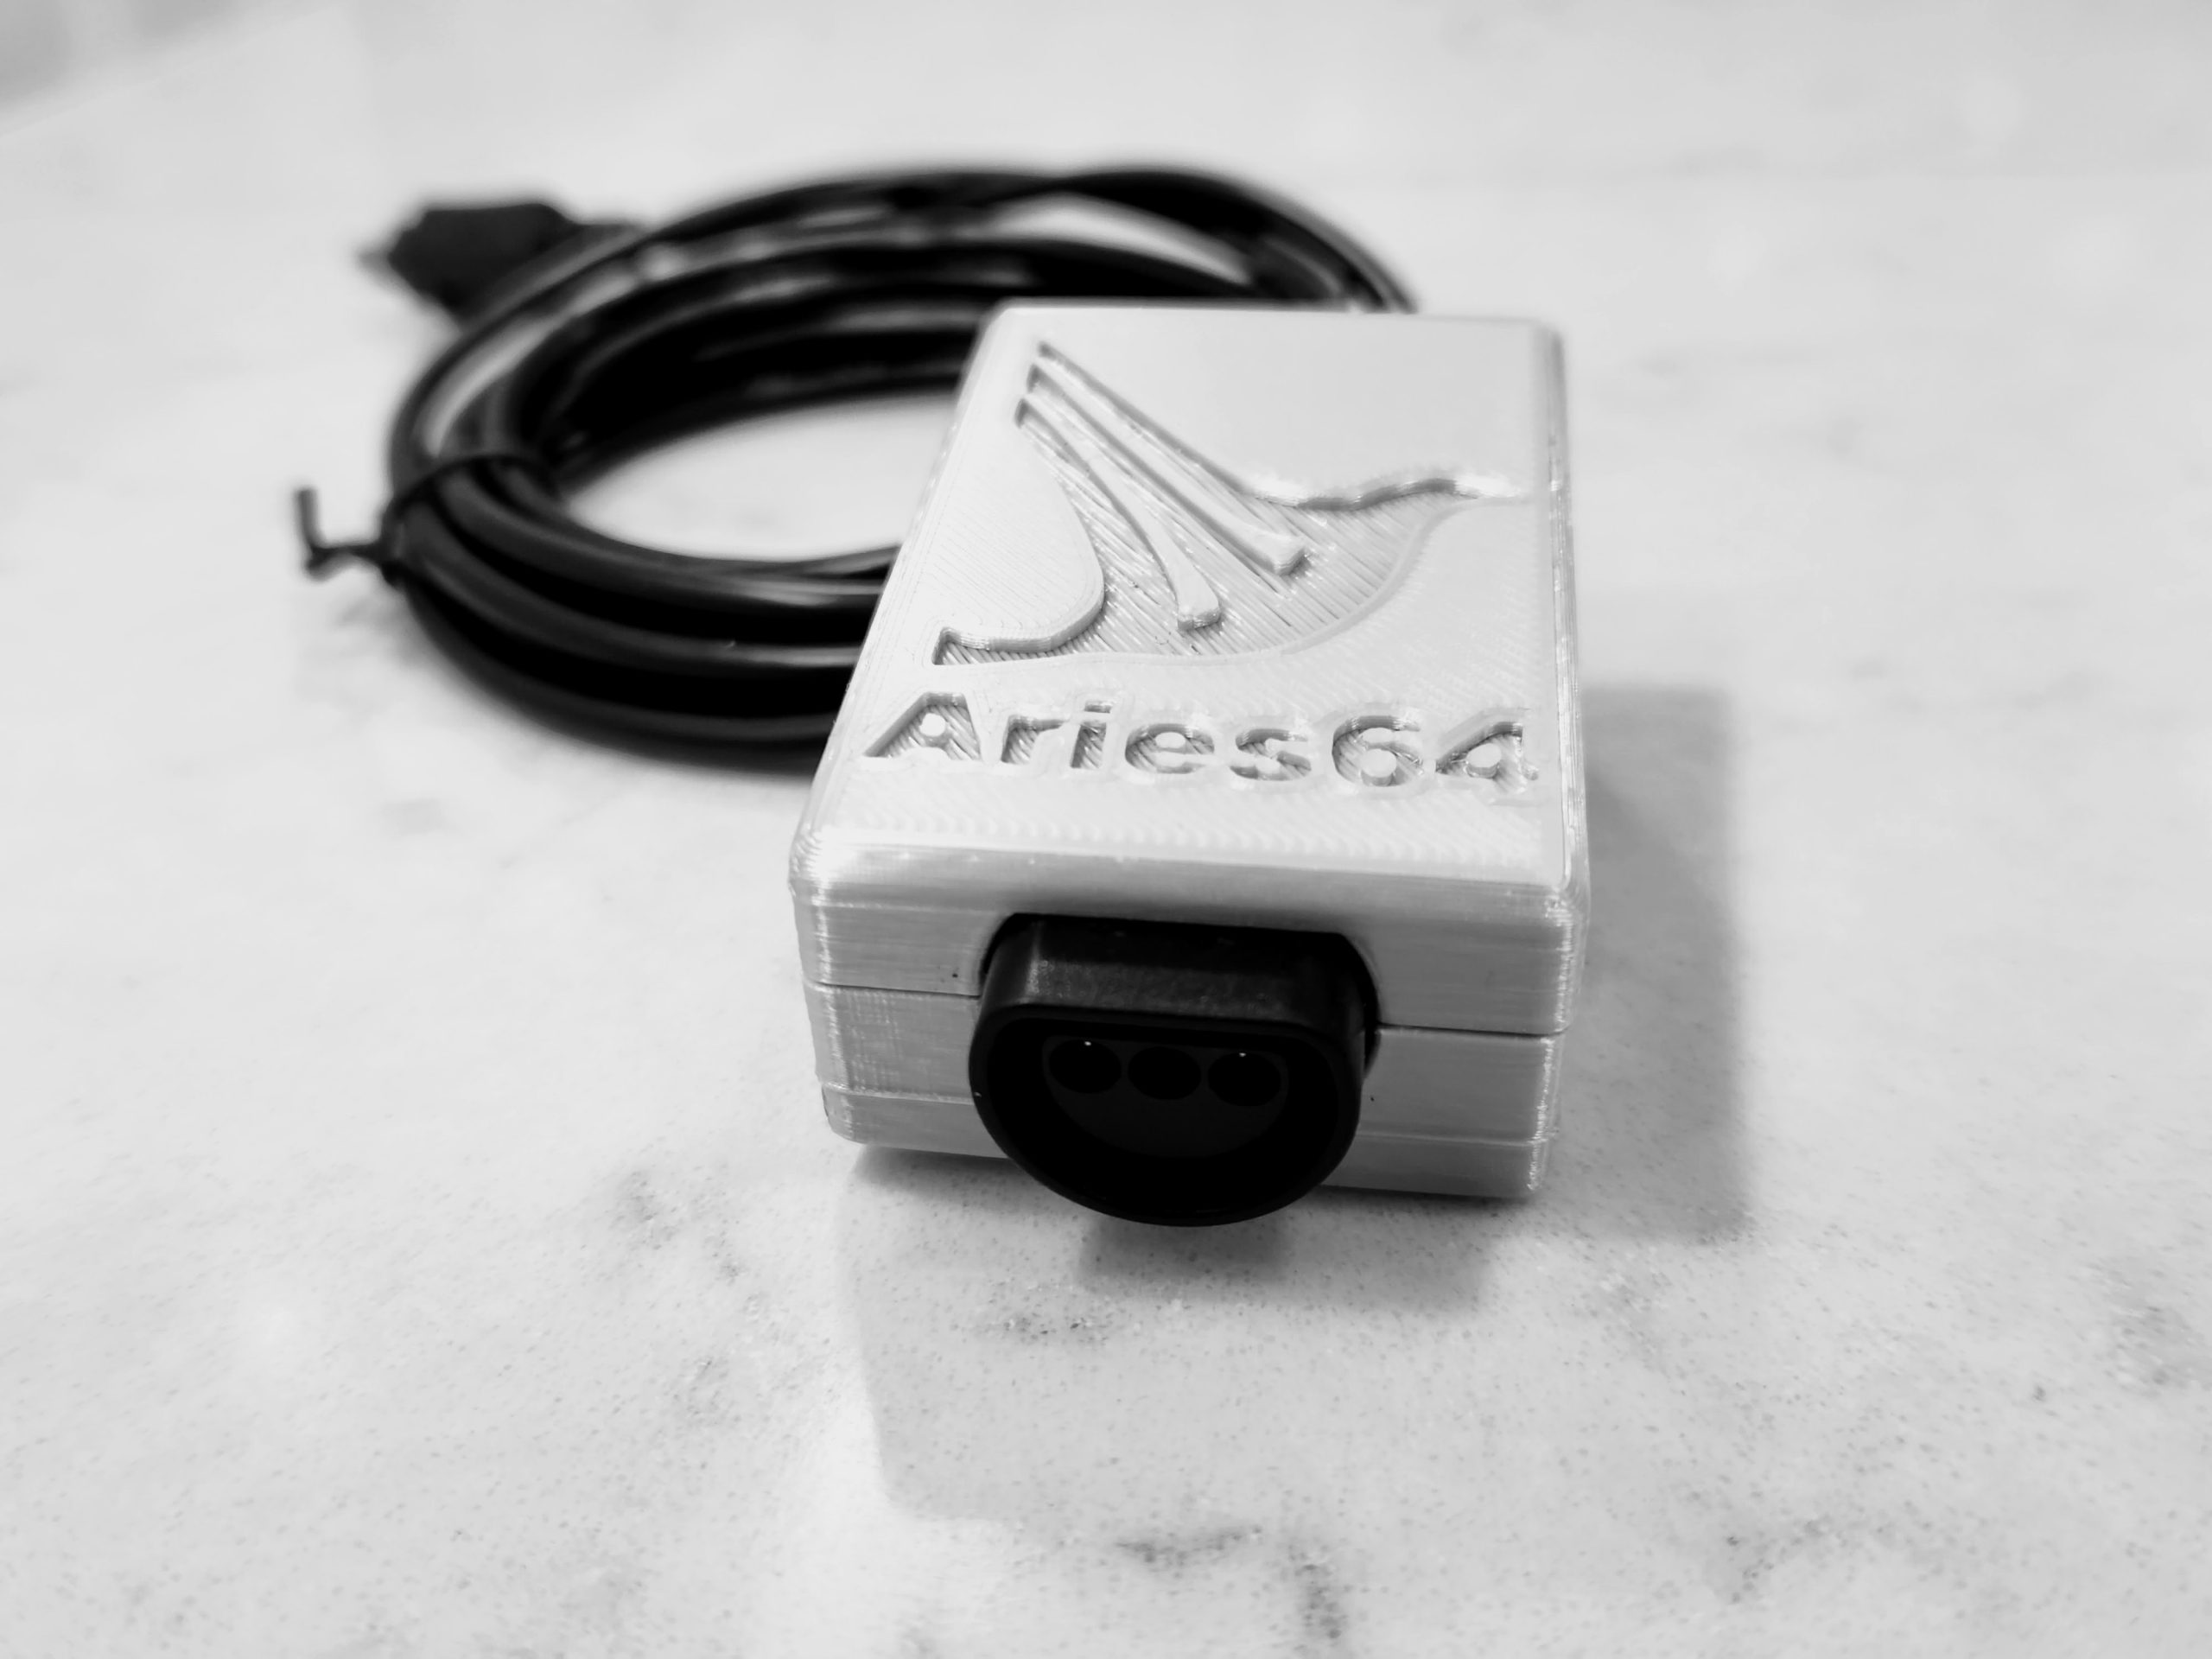
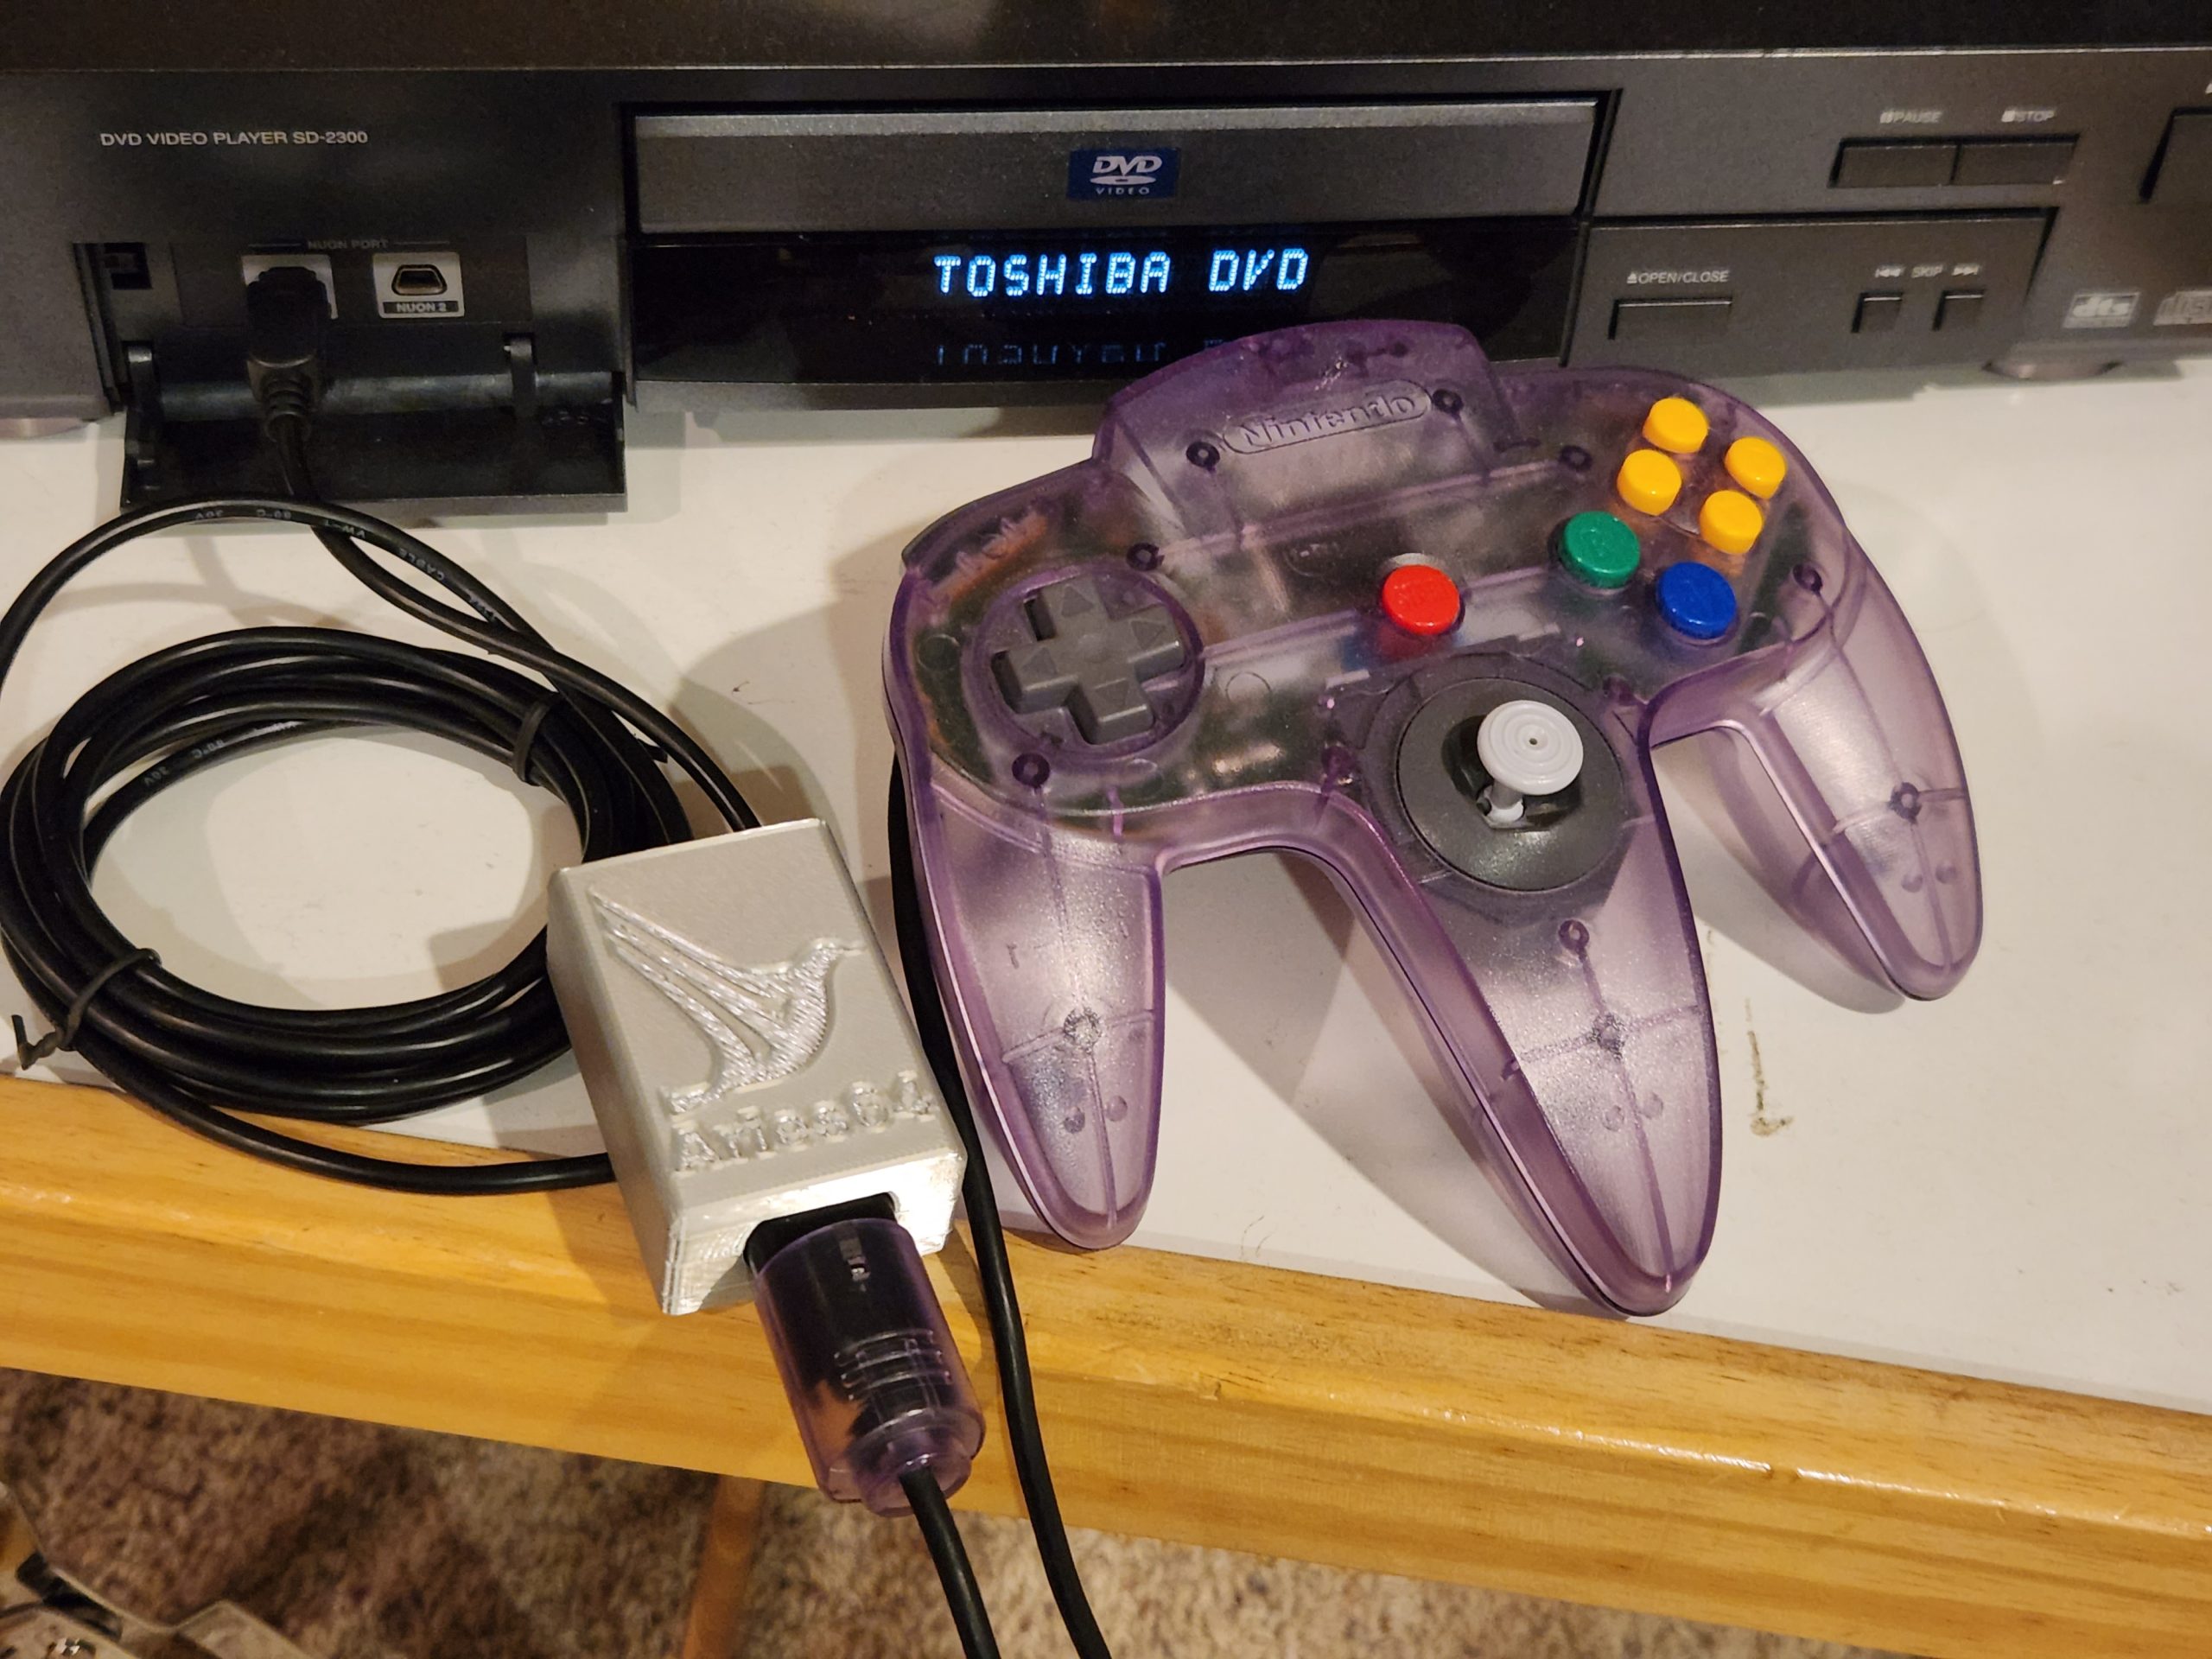
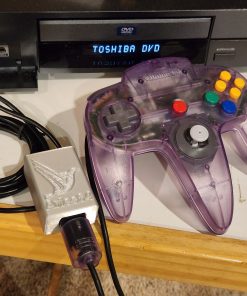
Introducing the Aries64 for your NUON DVD game system! The Aries64 connects to the NUON controller port on your DVD unit on one end, and on the other end, you can plug in any Nintendo 64 controller (first party or third party) and use it on all your NUON games! Includes full support for one analog stick, D-pad, and all action buttons. The NUON button is mapped to the Z trigger.
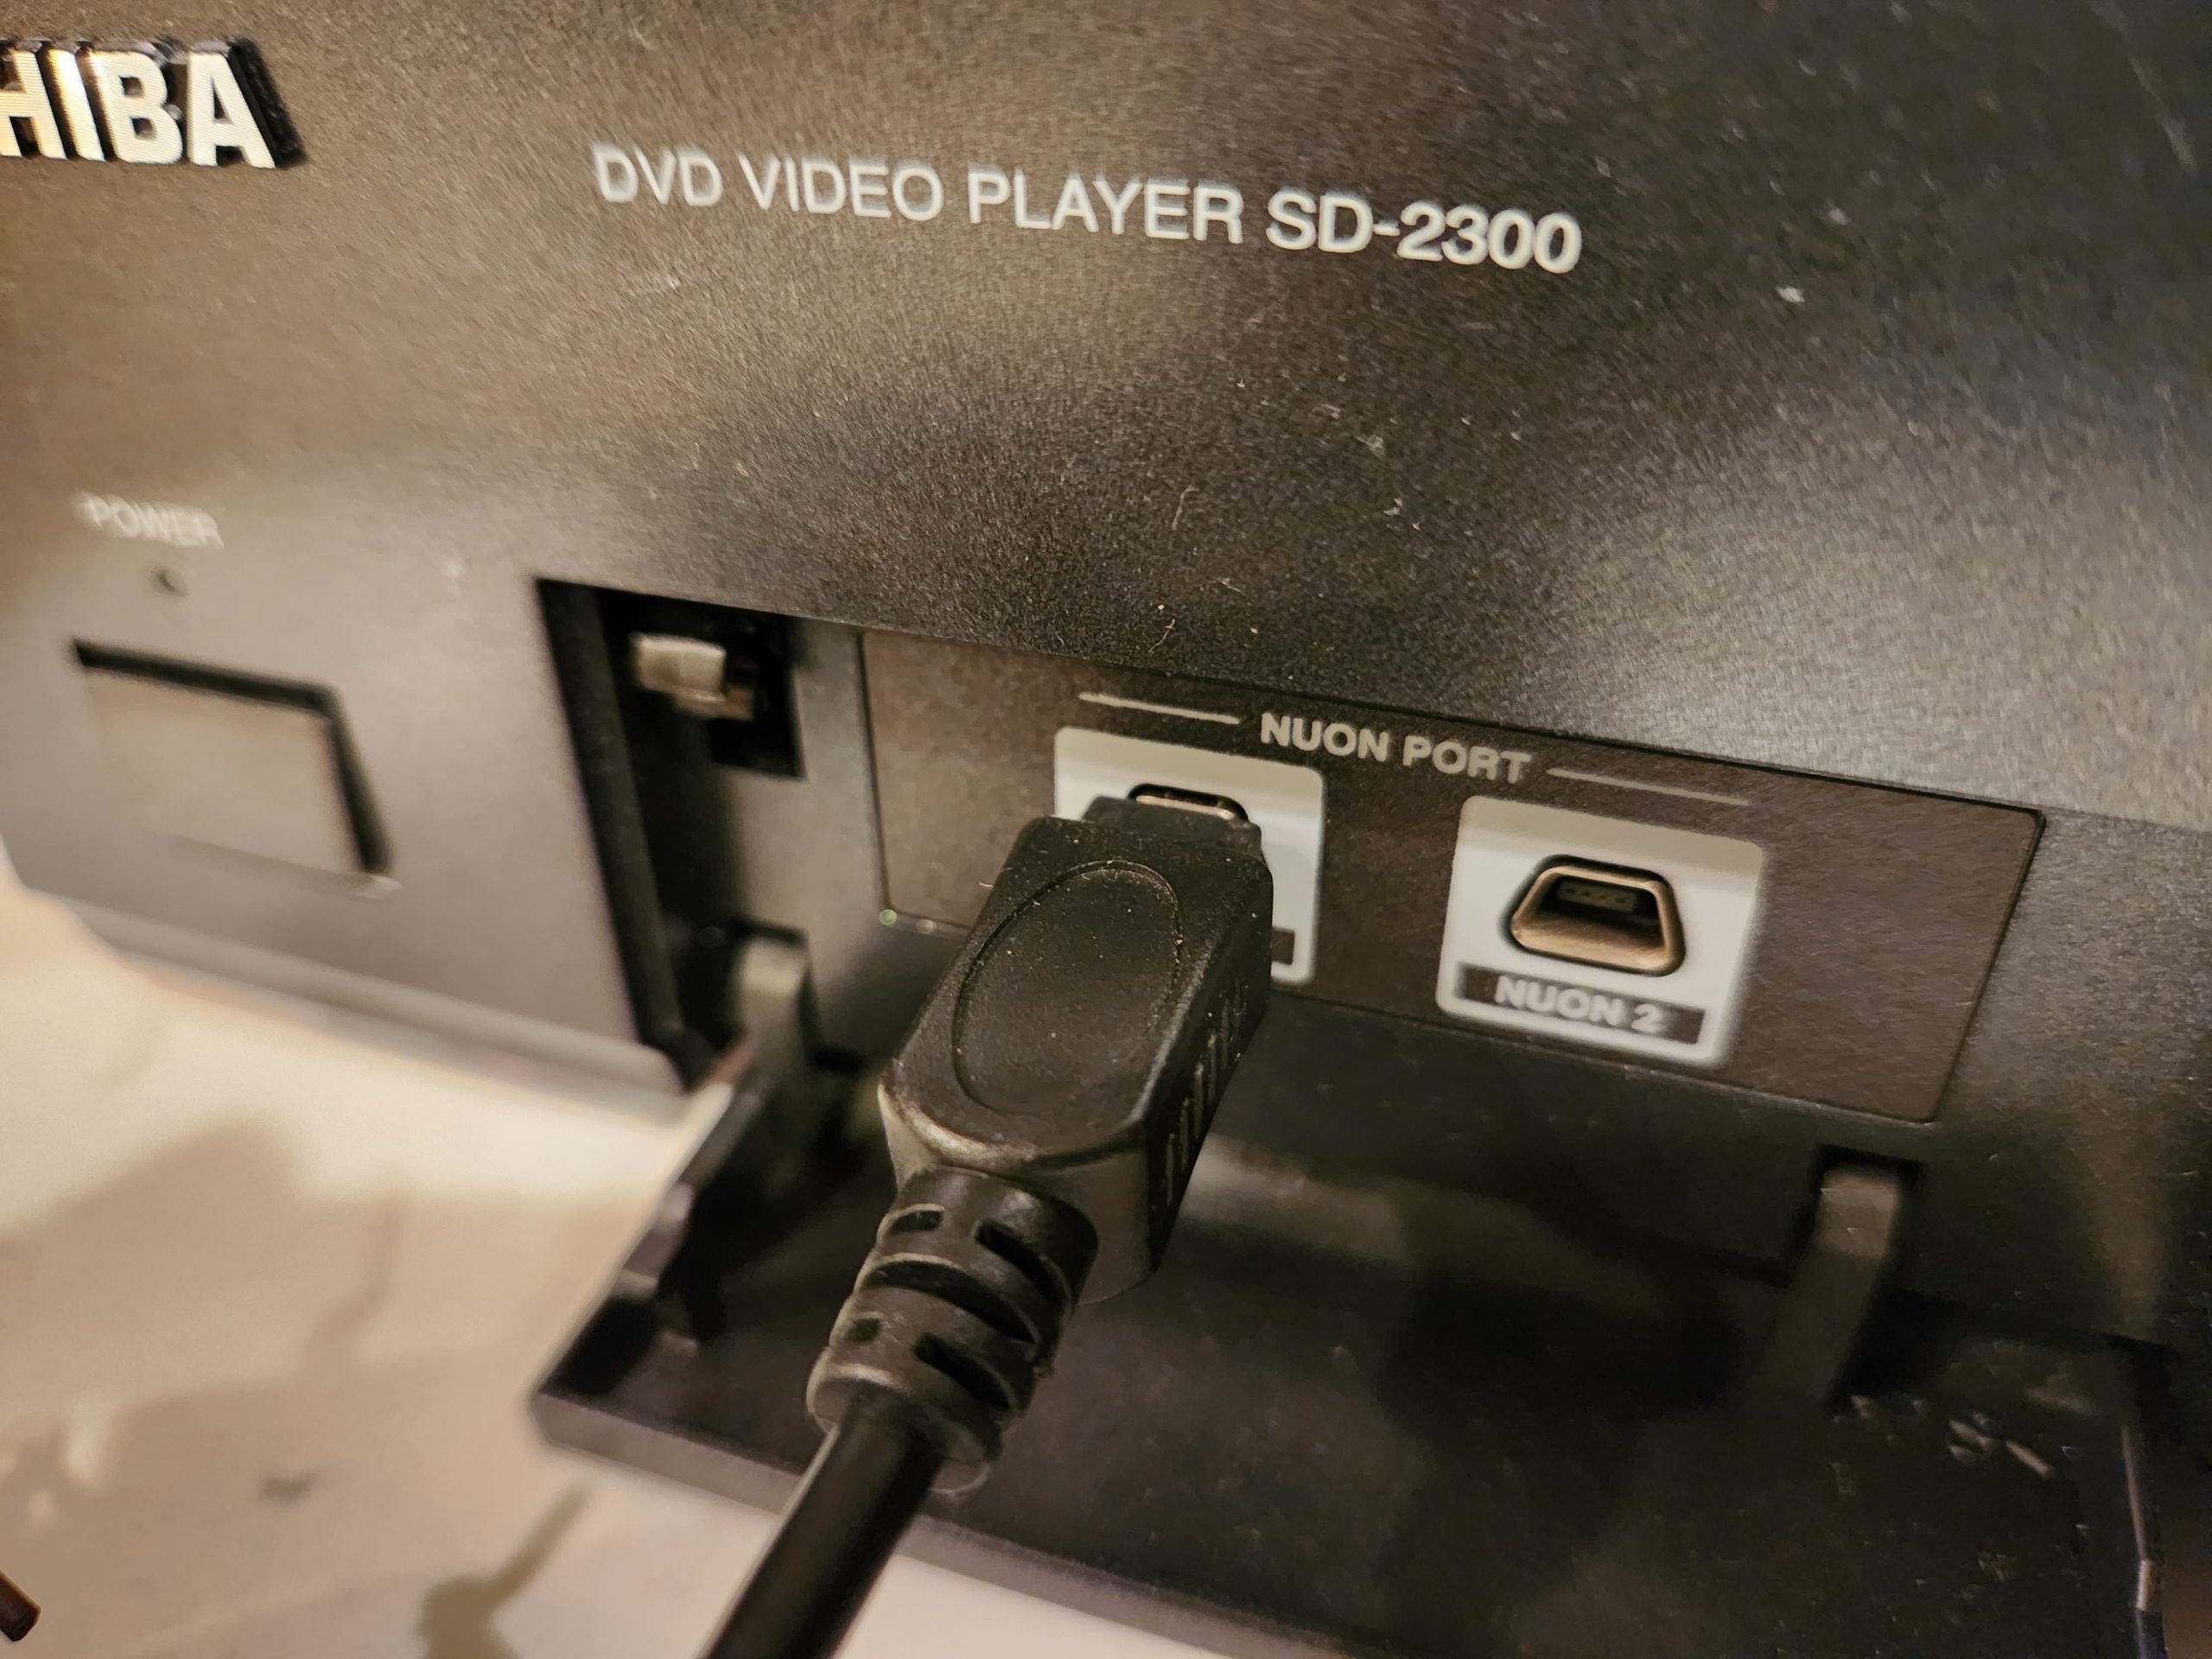
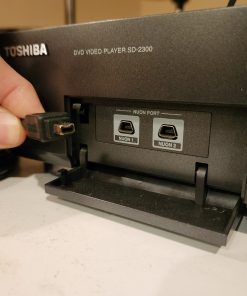
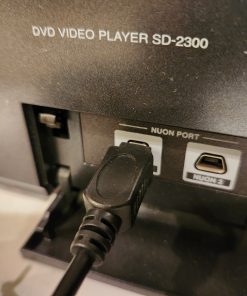
The connector is a 4-pin firewire, and will fit snugly in the NUON controller port with the indented side up (see photos). The cable is approximately 5-7′ long.
Installation guide for all Nuon systems:
- Insert the black and metal plug from the Aries64 cable into your NUON DVD player controller port. The 1394 logo goes down, and the “v” indentation in the metal plug goes up. See photos for reference on connector orientation. Once inserted, the metal portion of the plug should mostly no longer be visible.
- Plug in your N64 controller to the socket on the Aries64.
- Power on your NUON DVD player. Note this step can be performed first if desired; the order does not matter.
- If you have successfully connected your Aries64 to the NUON DVD player and N64 controller, then a red LED will light up on the back side of the Aries64.
- Congratulations! Enjoy your NUON games. 🙂
Compatibility:
- The Aries64 has been confirmed to work on the Samsung N501 and Toshiba SD2300.
- The Aries64 has been confirmed to work on the Samsung Extiva N2000, however this NUON system has recessed controller ports. Approximately 0.25 inches of the thickest portions of the rubber housing on the top and bottom of the connector must be removed to allow physical insertion. This is a simple mechanical fix with a standard utility knife, and does not involve opening the unit or any electrical knowledge. It takes less than 2 minutes to complete. Please contact Songbird if you need assistance with this, or let us know when you place an order and we are happy to mod the unit for you.
- Lay the knife on top of the smaller black housing so it is positioned to slide under the larger black housing. Note: do not attempt to separate the smaller black housing from the exposed metal.
- Slide the blade under the housing as shown in the first picture. You only need the blade to travel 1/8″ to 1/4″.
- Remove the knife, and carefully score (or notch) the housing as shown in the second picture.
- Slide the blade back under the housing as you did in step 2. Pry off the piece of housing as shown in the third picture.
- Repeat the process on the back side of the connector.

Full-size pictures for modding your connector
| Weight | 3.5 oz |
|---|---|
| Version | Standard (no mod), Samsung N2000 mod needed |
Be the first to review “Aries64 NUON controller adapter” Cancel reply
You must be logged in to post a review.


Reviews
There are no reviews yet.